Discovering that your annual backflow testing has failed can be stressful, but understanding what happens next will help you navigate the situation effectively.
A failed test means your backflow prevention assembly isn't functioning properly, which could potentially allow contaminants to enter the clean water supply. This isn't just an inconvenience, it's a health and safety issue that requires immediate attention.
When a backflow test fails, you'll need to either repair or replace the assembly as soon as possible to prevent contamination risks and comply with regulations.
The decision between repair and replacement typically depends on factors like the age of your backflow device, availability of parts, and cost comparison between fixing or installing a new unit. In severe cases where contamination is possible, your water service might be temporarily disconnected until the issue is resolved.
We understand that dealing with plumbing emergencies can be overwhelming, especially when they involve crucial safety systems like backflow preventers.
Throughout this article, we'll walk you through the specific reasons backflow tests fail, explain the potential consequences of ignoring the problem, and outline the steps you should take to get your system back in compliance quickly and effectively.
Here's what you need to know:
- Understanding backflow testing and prevention
- Reasons your annual backflow test may fail
- What happens after a failed backflow test
- Preventing future backflow test failures
Let's dive in!
Understanding backflow testing and prevention
Backflow prevention is a critical part of maintaining safe drinking water in homes and businesses. This system prevents contaminated water from flowing backward into the clean water supply. Understanding the basics of backflow testing helps property owners respond effectively when problems arise.
What is a backflow test
A backflow test is a safety inspection that checks if your backflow prevention device works correctly. The test measures whether the device can stop contaminated water from flowing back into the clean water supply. During this test, a certified technician uses specialized gauges to check valve seals, pressure differentials, and overall functionality.
We perform these tests by:
- Shutting off the water supply
- Attaching test gauges to test cocks on the device
- Measuring pressure readings in different scenarios
- Verifying that check valves and relief valves operate properly
If any component fails during testing, the entire backflow prevention device fails the test. This indicates a potential risk to your water supply that requires immediate attention.
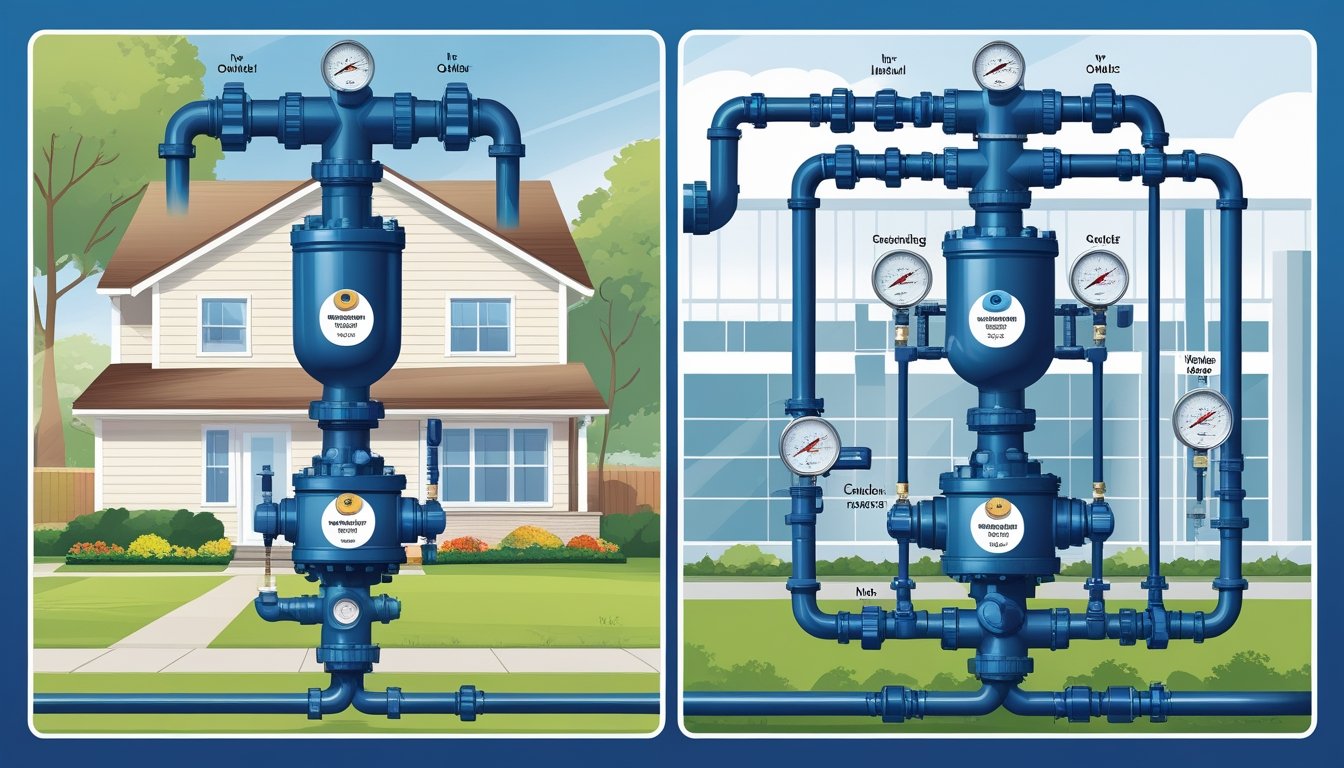
Common types of backflow prevention devices
Several types of backflow prevention assemblies exist, each designed for specific applications and risk levels.
Reduced Pressure Zone (RPZ) devices offer the highest level of protection. These complex assemblies use multiple check valves and a relief valve for maximum security. We recommend these for high-hazard applications like medical facilities and chemical processing.
Double Check Valve Assemblies (DCVA) provide moderate protection with two spring-loaded check valves. These are common in residential and light commercial settings where moderate hazards exist.
Pressure Vacuum Breakers (PVB) are simpler devices often used for irrigation systems. They prevent backsiphonage but not backpressure situations.
The right device depends on your specific water system configuration and the potential contamination risks present in your property.
Why annual backflow testing is mandatory
Annual backflow testing is mandatory in most jurisdictions to protect public health. Without regular testing, a failing backflow prevention device might go unnoticed until contamination occurs.
The key reasons for required annual testing include:
- Public safety: Preventing waterborne illness outbreaks
- Legal compliance: Meeting local water authority regulations
- Early detection: Finding problems before they cause contamination
- Device longevity: Regular maintenance extends equipment life
We've seen serious consequences from backflow incidents, including illness outbreaks. In one extreme case, over 1,500 people became ill and 98 died from a severe backflow incident. This highlights why water authorities take testing so seriously.
Annual testing also helps identify worn components before they fail completely, often allowing for less expensive repairs rather than complete replacements.
Reasons your annual backflow test may fail
Discovering the exact reason for a backflow test failure helps you address the problem quickly and effectively. Understanding these causes can save you time, money, and potential health risks.
Backflow preventers fail for many reasons, from aging seals to internal corrosion. In fact, one regional utility found that 42.5% of residential backflow assemblies failed their initial annual test highlighting how common these failures can be, even in well-maintained systems.
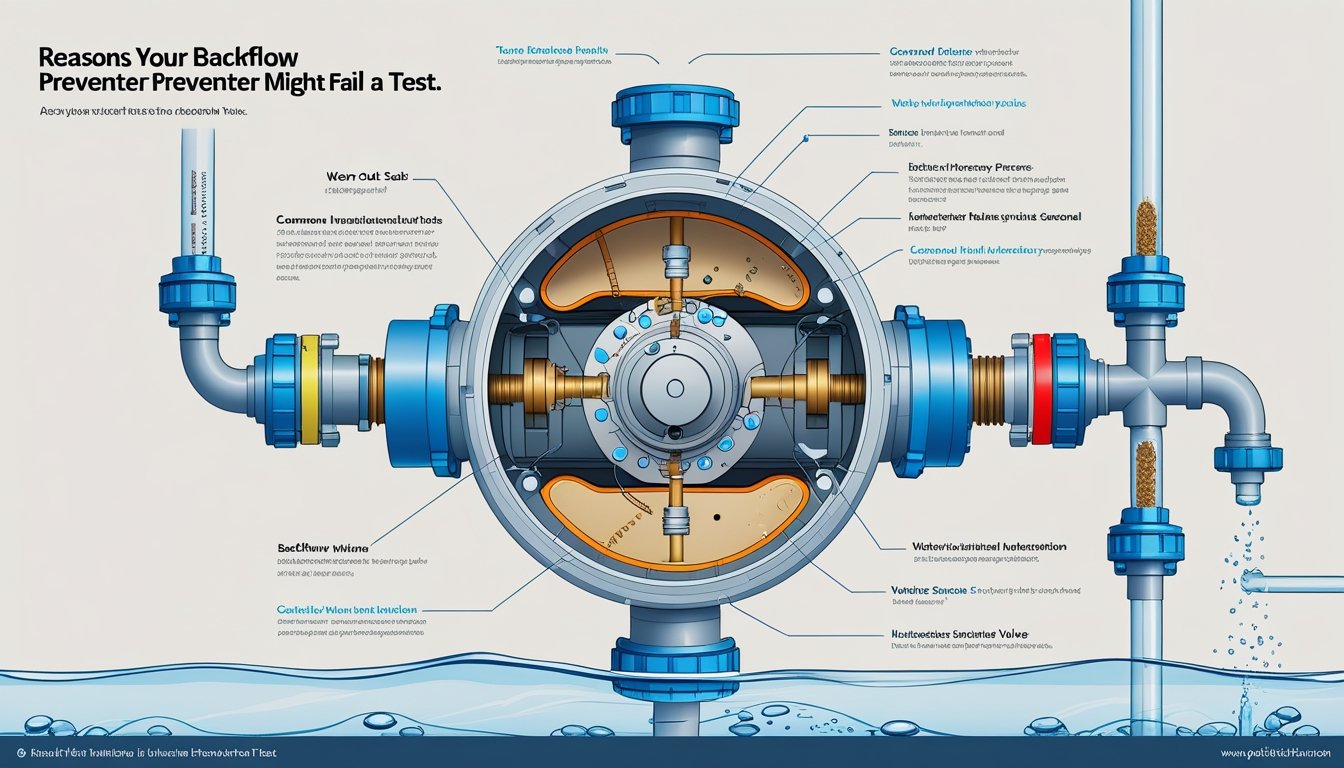
Common causes of failed backflow tests
Backflow preventers fail tests for several key reasons. Worn or damaged check valves often can't maintain proper pressure differentials, causing test failures. These valves are the primary defense against water flowing backward into your clean water supply.
Springs inside the assembly can weaken over time. When springs lose tension, they can't properly close the valves when water pressure drops, leading to failed tests.
Rubber seals and gaskets deteriorate with age. Cracked or hardened seals can't create watertight connections, allowing leaks that trigger test failures.
The relief valve may also malfunction. This important component releases excess pressure, but when it sticks open or closed, the entire backflow preventer fails to function properly.
How debris and minerals cause backflow test failures
Debris is a major culprit in backflow test failures. Sand, rust, and mineral deposits can accumulate inside the backflow assembly, preventing valves from closing completely.
Small particles can lodge between valve seats and discs. Even tiny obstructions can create pathways for water to flow backward, causing test failures.
Mineral buildup from hard water gradually affects performance. These deposits form scale on internal components, restricting movement and preventing proper operation.
Debris can also damage internal components over time. As water flows through the assembly, particles scrape against seals and springs, accelerating wear and reducing the lifespan of your backflow preventer.
Signs of a malfunctioning backflow preventer
Water leaking from the relief valve indicates a problem. This often happens when the first check valve isn't sealing properly, causing pressure in the middle chamber to rise.
Unusual noises like whistling or chattering suggest internal issues. These sounds typically occur when water flows through partially blocked valves or when components are misaligned.
Inconsistent water pressure throughout your system may signal backflow issues. If pressure fluctuates dramatically, your backflow preventer might not be functioning correctly.
Poor water quality, including discoloration or unusual taste, can indicate contamination. This is a serious warning sign that requires immediate attention to prevent health risks from contaminated water entering your supply.
What happens after a failed backflow test
A failed backflow test means your water system needs immediate attention to protect your clean water supply. The steps you take next will depend on the severity of the issue and the condition of your backflow prevention assembly.
What to do right after a failed backflow test
When your backflow test fails, the first step is to isolate the affected system. This prevents potential contaminants from entering your water supply. Your backflow tester will document exactly what failed during the inspection.
You'll receive a report detailing the issues found with your backflow preventer. These might include leaking valves, stuck check valves, or pressure gauge problems. Don't ignore this report! Failed backflow tests indicate your water supply is vulnerable to contamination.
Contact a licensed plumber or backflow repair specialist right away. In some areas, you may need to notify your water provider about the failed test. They can advise on local requirements and timelines for repairs.
Backflow repair vs. replacement: What’s more cost-effective?
The age of your backflow prevention assembly plays a big role in the repair-or-replace decision. Devices typically fail at a rate of 10-15% after just one year of operation.
For newer systems, repairs are often the best choice. Common repairs include:
- Replacing damaged seals or gaskets
- Cleaning internal components
- Adjusting pressure settings
- Replacing broken valves
For older systems (7+ years), full replacement might be more cost-effective. When repair parts are hard to find or the cost of repairs approaches 50% of replacement cost, we recommend installing a new unit.
The typical repair costs range from $75-300, while complete replacements can run $300-1200 depending on size and type.
How repairs restore clean water supply
Properly repairing your backflow preventer ensures your drinking water stays safe. After repairs, the technician will conduct a pressure test to verify the device works correctly.
The repaired backflow prevention assembly creates a physical barrier that prevents contaminated water from flowing backward into your clean water supply. This is especially important during pressure drops in the main water line.
Key benefits of proper repair include:
- Elimination of cross-connection hazards
- Restoration of proper water pressure
- Prevention of potential health risks
- Compliance with local regulations
After repairs are complete, a certified tester must perform a retest. This final step verifies your system is now in compliance and your water supply is protected from backflow contamination.
Preventing future backflow test failures
The best defense against backflow test failures is taking proactive steps before problems occur. Regular maintenance and proper system management can save you from costly repairs and potential health hazards.
System backflow test maintenance and installation tips
Proper installation is the foundation of backflow prevention. Always hire certified professionals who understand local plumbing codes for installation. They'll ensure correct sizing and positioning of your backflow preventer.
Monthly visual inspections can catch early warning signs. Look for leaks, corrosion, or unusual noises coming from your backflow device.
Keep the area around your backflow preventer clean and accessible. Debris can damage components and make repairs more difficult.
Maintenance Schedule:
- Monthly: Visual inspection
- Quarterly: Check for leaks and clear debris
- Annually: Professional testing
- Every 5 years: Consider parts replacement even if testing passes
Regular maintenance keeps your system functioning at optimal levels. Most backflow prevention devices have components that wear out over time, particularly rubber seals and discs.
Best practices for irrigation and water systems
Water pressure management is essential for backflow prevention. We recommend installing a pressure gauge to monitor your system's PSI levels. Ideal water pressure typically ranges between 40-80 PSI.
Winterize your irrigation system properly to prevent freeze damage. Drain all water from the system before the first freeze.
Irrigation System Checklist:
- Install pressure regulators if water pressure exceeds 80 PSI
- Use appropriate backflow devices for your specific irrigation setup
- Keep sprinkler heads clean and properly adjusted
- Update older systems with modern backflow prevention technology
Avoid making modifications to your water system without consulting a professional. DIY changes can inadvertently create cross-connections.
How to prepare for your next annual test
Mark your calendar for annual testing dates. Most municipalities require yearly backflow testing by certified professionals.
Before your scheduled test, conduct your own pre-inspection. Check for visible issues like leaks or corrosion that might cause test failure.
If your previous test readings were between 1.0-1.3 PSID, be prepared for potential failure. These readings often indicate components that are beginning to wear out.
Pre-Test Preparations:
- Clear access to your backflow device
- Have previous test results available for comparison
- Schedule maintenance if your device is older than 5 years
- Be present during testing if possible to learn about your system
Budget for potential repairs or replacement. New backflow preventers typically test at 2.0-4.0 PSID, providing better protection than aging units with borderline readings.
Conclusion
A failed backflow test doesn’t just signal a maintenance issue, it highlights a potential risk to your water quality and regulatory compliance. Whether caused by worn components, debris, or aging systems, these failures require prompt and informed action.
By understanding the testing process, knowing when to repair or replace, and following best practices for ongoing maintenance, you can avoid repeat failures and protect your water supply year after year.
Need to retest or repair after a failed inspection? Contact Pacific Backflow for certified service and expert guidance to keep your system safe and compliant.